Hello, Beckus. This is Ray from Power Roaster. Today, we are conducting a complete roast of 120 grams of coffee beans. While minor variations in weight are acceptable, we are committed to delivering the promised 120 grams. Before we begin the actual roasting rules, let’s take a moment to explore the equipment.
Equipment Overview: Timers and Voltage Control
The unit we are using today is a single-phase device, and we have integrated a high-quality timer. We have found that industrial-grade timers, like the one installed here, offer the best stability and longevity, capable of functioning reliably for over a year. For today’s demonstration, the timer is set for four minutes and thirty-five seconds.
The primary purpose of this video is to demonstrate our dual-control system: a precise timer and a unit capable of controlling voltage. When you activate the controller, it starts at zero volts. Upon clicking the switch to “zero,” no power is delivered; clicking further engages maximum power. As the unit turns on, the internal timer begins counting up from zero, eventually reaching the preset four-minute-and-35-second mark.
The Roasting Process: Heat and Agitation
Once the unit is activated, you will hear the motor and fan spinning up. Initially, the voltage is low, which results in minimal bean movement. This is a critical phase. While other roasters might struggle to handle loads as heavy as 120 grams, often requiring a full minute and a half to reach this weight without adjusting settings, our system manages the load efficiently.
By approximately the one-minute-and-5-second mark, you will observe a significant change. The beans begin to move vigorously. This is the result of our fluid speed booster design. Ensuring all beans are lifted evenly is essential to achieve a uniform roast. We have utilized this method from the very beginning, and it remains our standard practice.
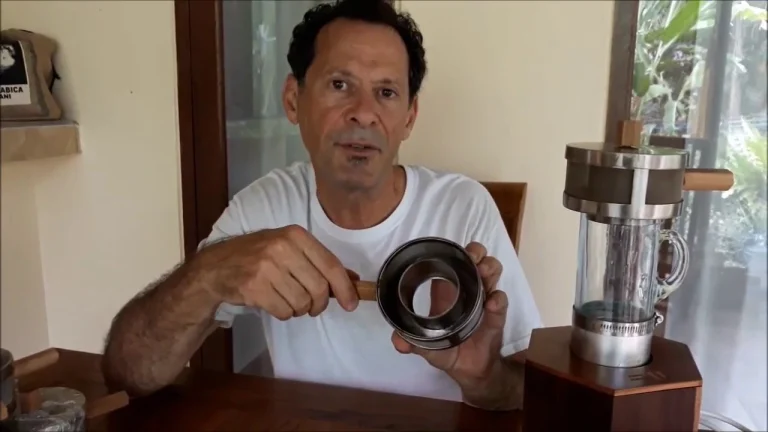
Design Philosophy: The V-Neck and Even Roast
You may notice a specific design feature: the V-neck shape. This differs from many other roasters you might have seen. This back-flow design is intentional; it is the proper way to roast coffee to ensure an even result. As the roast progresses, you may begin to hear the sounds of the first crack.
Around the two-and-a-half-minute mark, the beans are still heavy with moisture lost through the heating process. We allow this phase to continue naturally for a short duration. By the third minute, we begin to vary the voltage. This adjustment allows for more control over the roasting process, giving users the ability to tailor the heat to their specific needs.
Final Stages: First Crack and Termination
As we approach the four-minute mark, we will vary the voltage again. You should be able to hear the air injection reducing, which signals the beginning of the first crack. The beans will start to finger-pop as the internal pressure releases.
It is crucial to maintain movement during this stage. Do not allow the voltage to drop too low or the rotation to slow down, as this can lead to uneven burning or under-roasting. Around the four-minute-and-35-second mark, we will reach the peak heat, seeing the roast coffee turn a lighter shade compared to darker roasts achieved at five minutes.
Conclusion
We will stop the timer automatically at four minutes and thirty-five seconds. At this point, the roasting cycle is complete. We will remove the chaff catcher from the top and empty the beans. The result is a much lighter roast, demonstrating the precision achievable with a combination of a reliable timer and a variable voltage unit. This method ensures a consistent, high-quality cup of coffee every time.